


Hi folks ! Today I will try to illustrate a small tutorial on how to convert a 3D image rendered with the Scrappy 3D model into a toon anime style image.
You can find the Part 1 of tutorial here
3 Step: The second Image
In this step we need a second image.
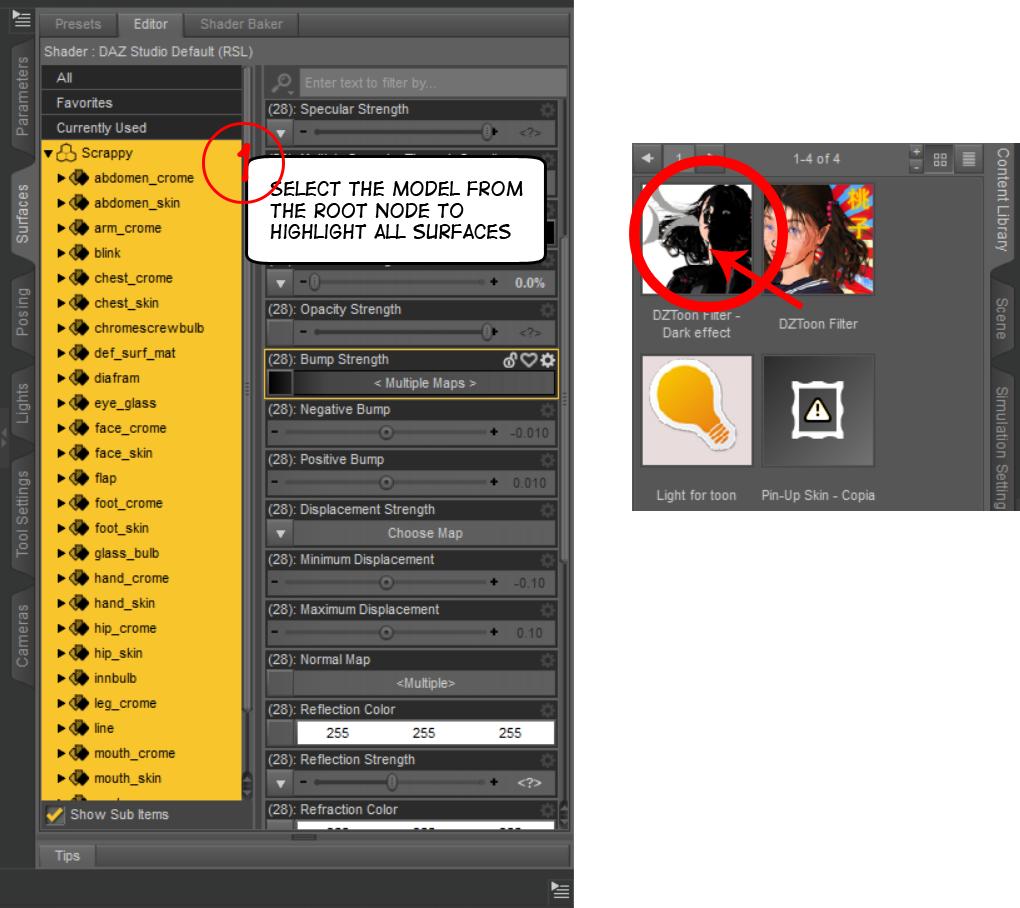
Like the image below, select all surface of Scrappy, go to "V4_Momoko_Filter" folder. Double click on "DZToon Filter - Dark Effect".
Repeat the second step "2 Step: Rendering Settings."
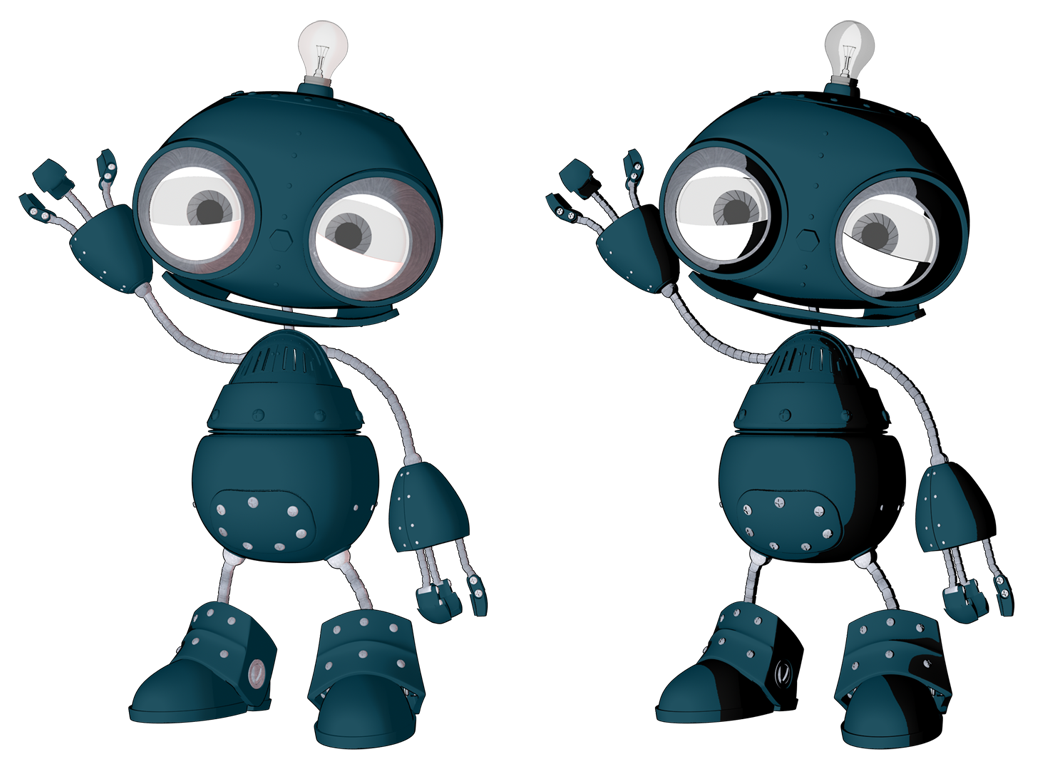
In the end you should get two files rendered like below
4 Step: It’s time of Photoshop
Open Photoshop or any other graphics editor. For this tutorial, however, I will use Photoshop but the procedure should also be the same for any other good graphic editor
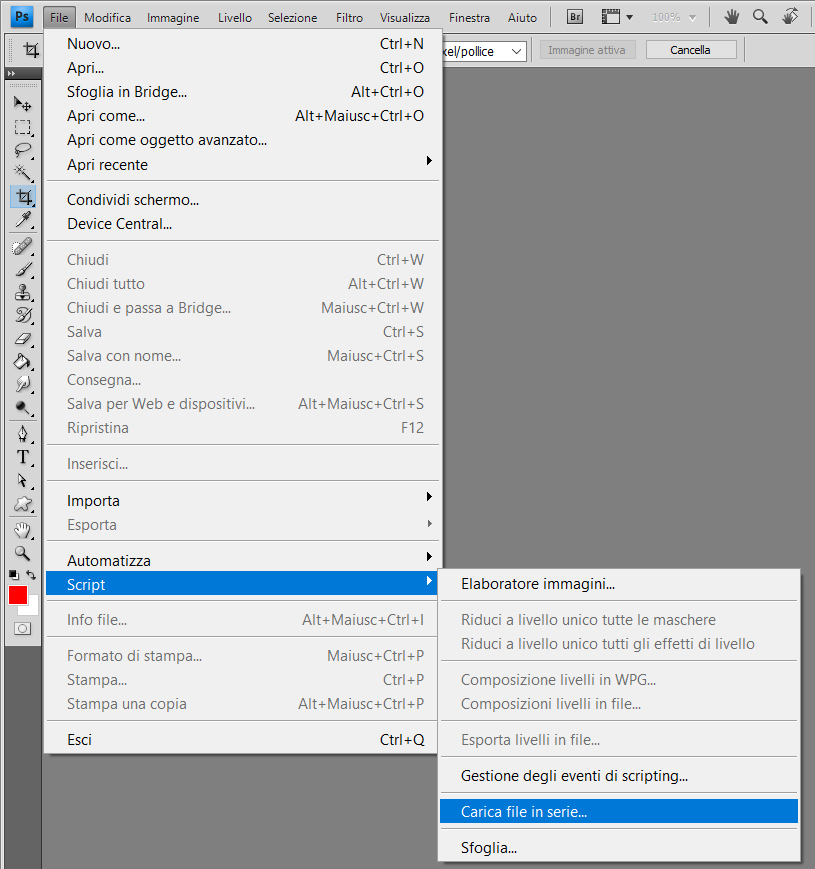
From Photoshop main menu go to File -> script -> Load Files into Stack
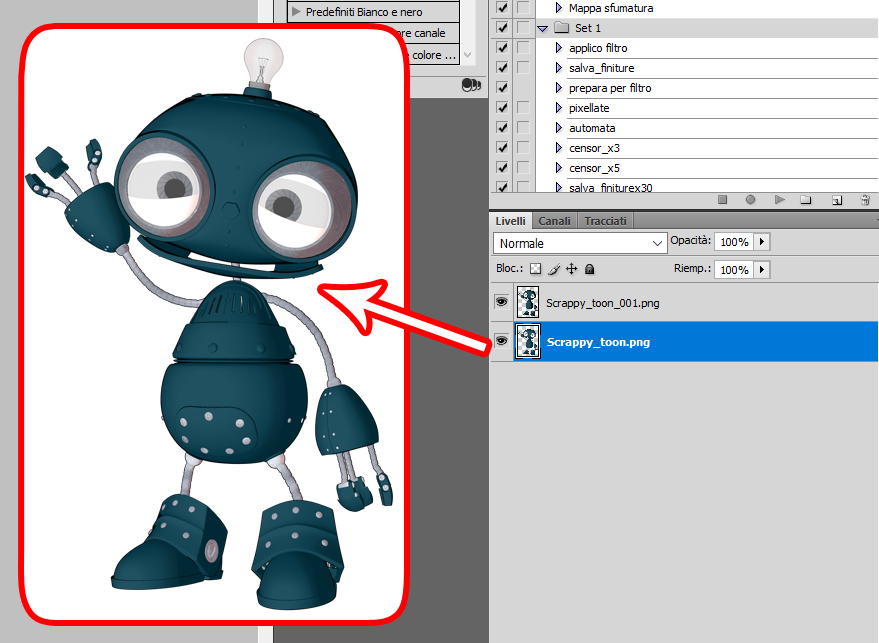
In the "Layers" section make sure that the layout of the images is as shown in the images below
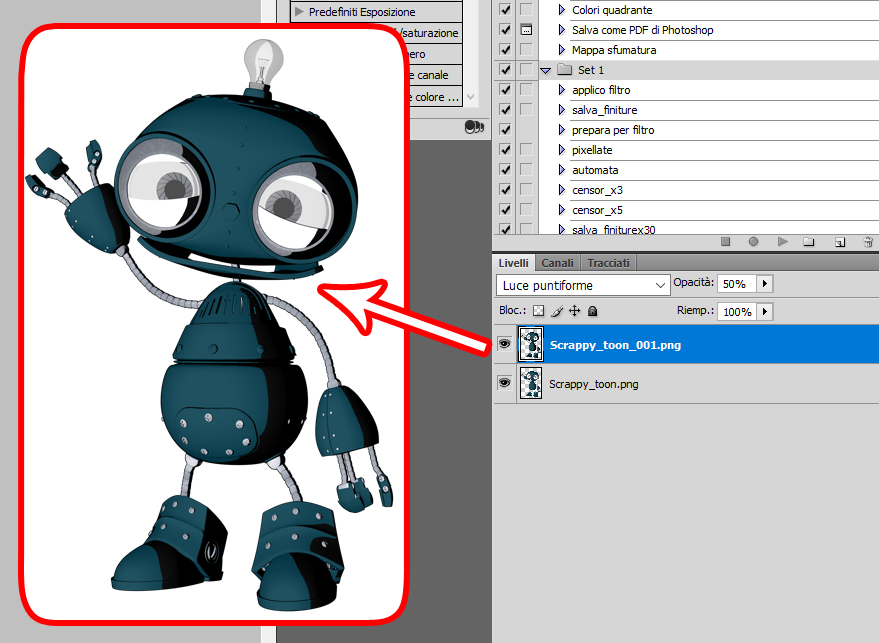
Now, the image rendered with the filter “DZToon Filter – Dark Effect” set “Pin Light” and the opacity to 50%
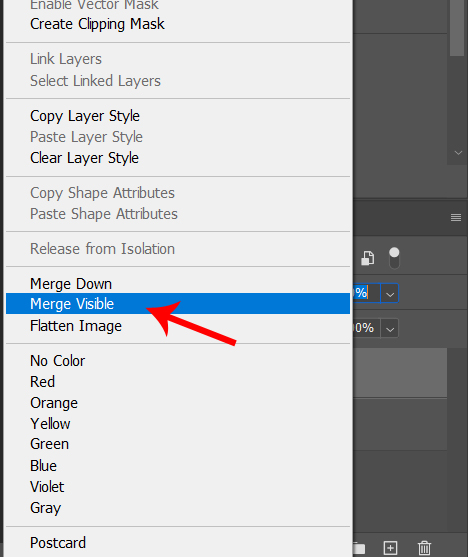
Click on one of the images to bring up the drop-down menu and choose “Merge Visible” to merge all the visible layers into one.
At this point the final image is ready and we can save it from the main menu File -> Save as -> and save it in png format or we can create a small composition like the final image below.
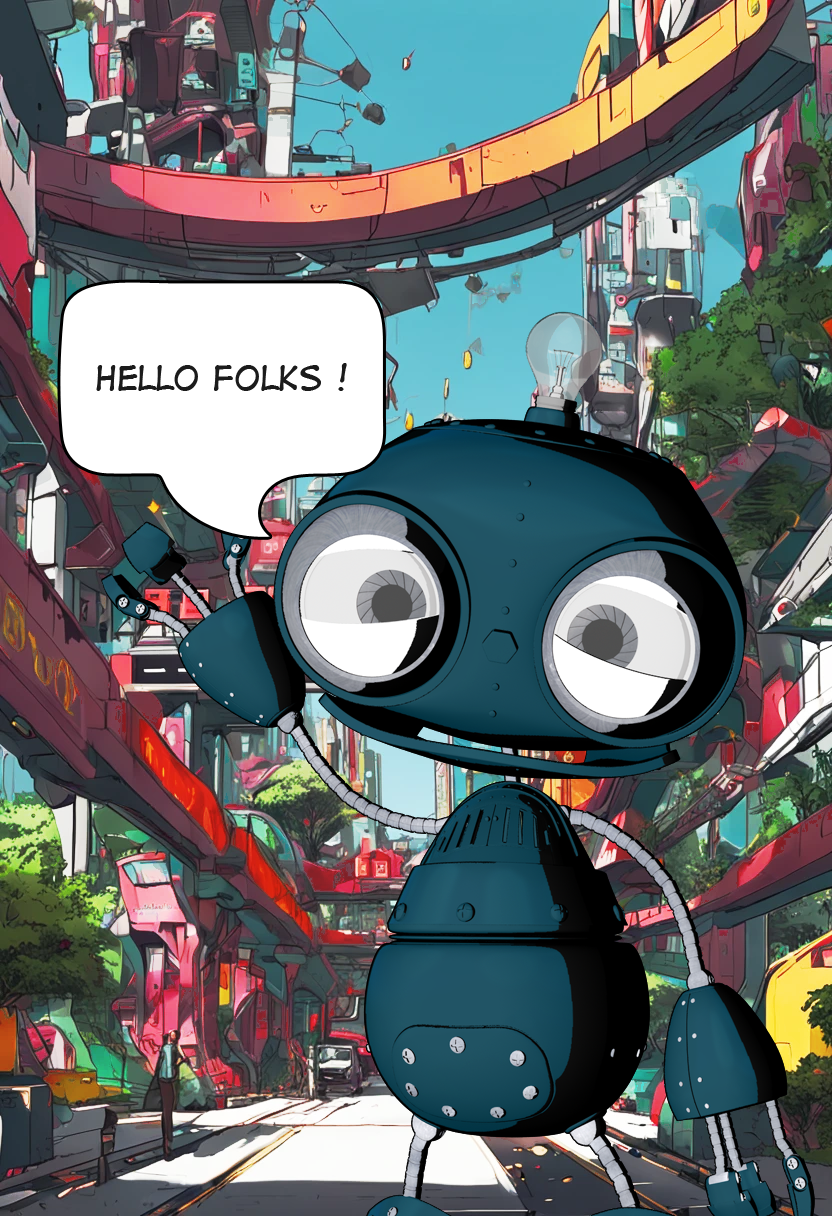
As you can see from the image above, you can use the final result of Scrappy to create an anime toon-style artwork with Photoshop. Simply set an anime toon-style background, easily available on Google. Choose the one you like the most and use it with Scrappy to achieve an authentic and captivating result.
I hope you enjoyed the tutorial. Feel free to comment on your experiences or doubts. See you soon ◕ ‿ ◕


Leave a Comment