


A Creative Science Experience with Kitchen Ingredients
Growing crystals doesn't require a lab or exotic materials. With hot water and ordinary table salt, you can create fascinating, geometric, and sparkling structures. It’s a perfect experiment to do with kids or simply to enjoy nature’s beauty… in miniature.
What You’ll Need
- 1 transparent glass (plastic or glass)
- 1 spoon
- Water (distilled works best, but tap water is fine)
- Table salt (sodium chloride)
- A piece of cotton string or twine
- A pencil or long stick
- A cloth or kitchen paper to cover the glass
Instructions
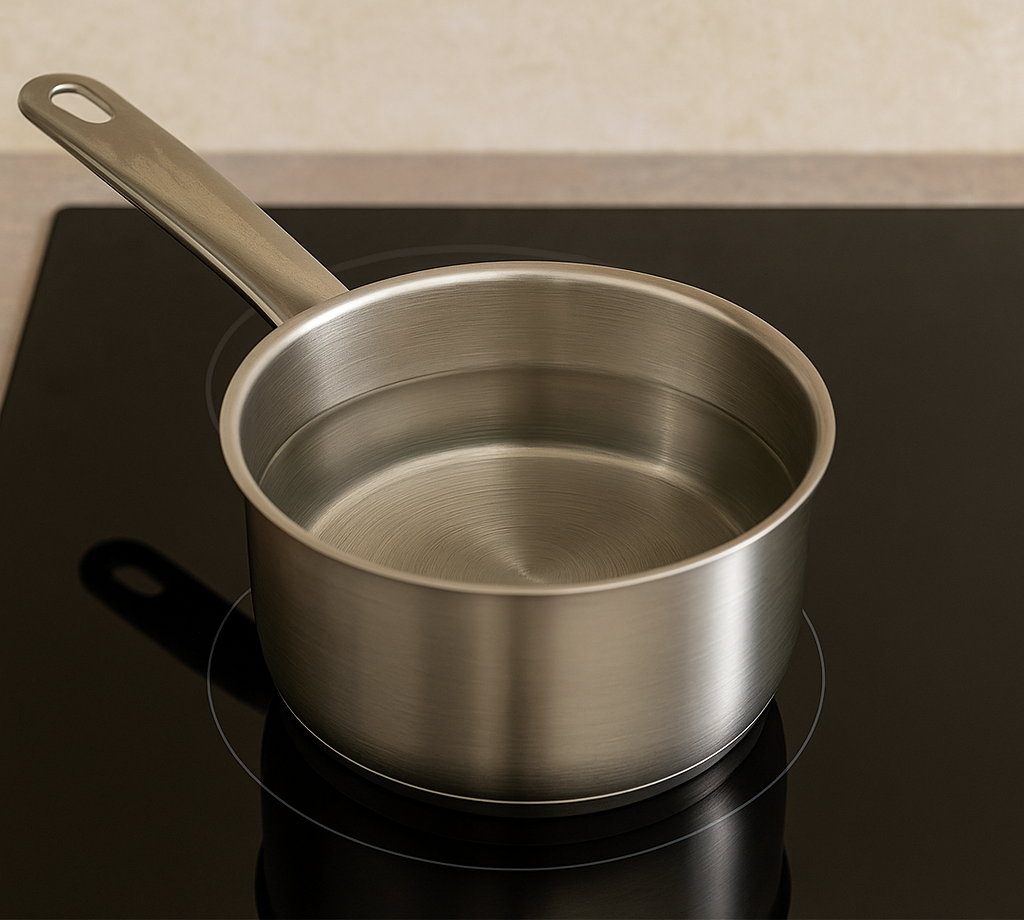 1. Heat about 200 ml of water (do not boil).
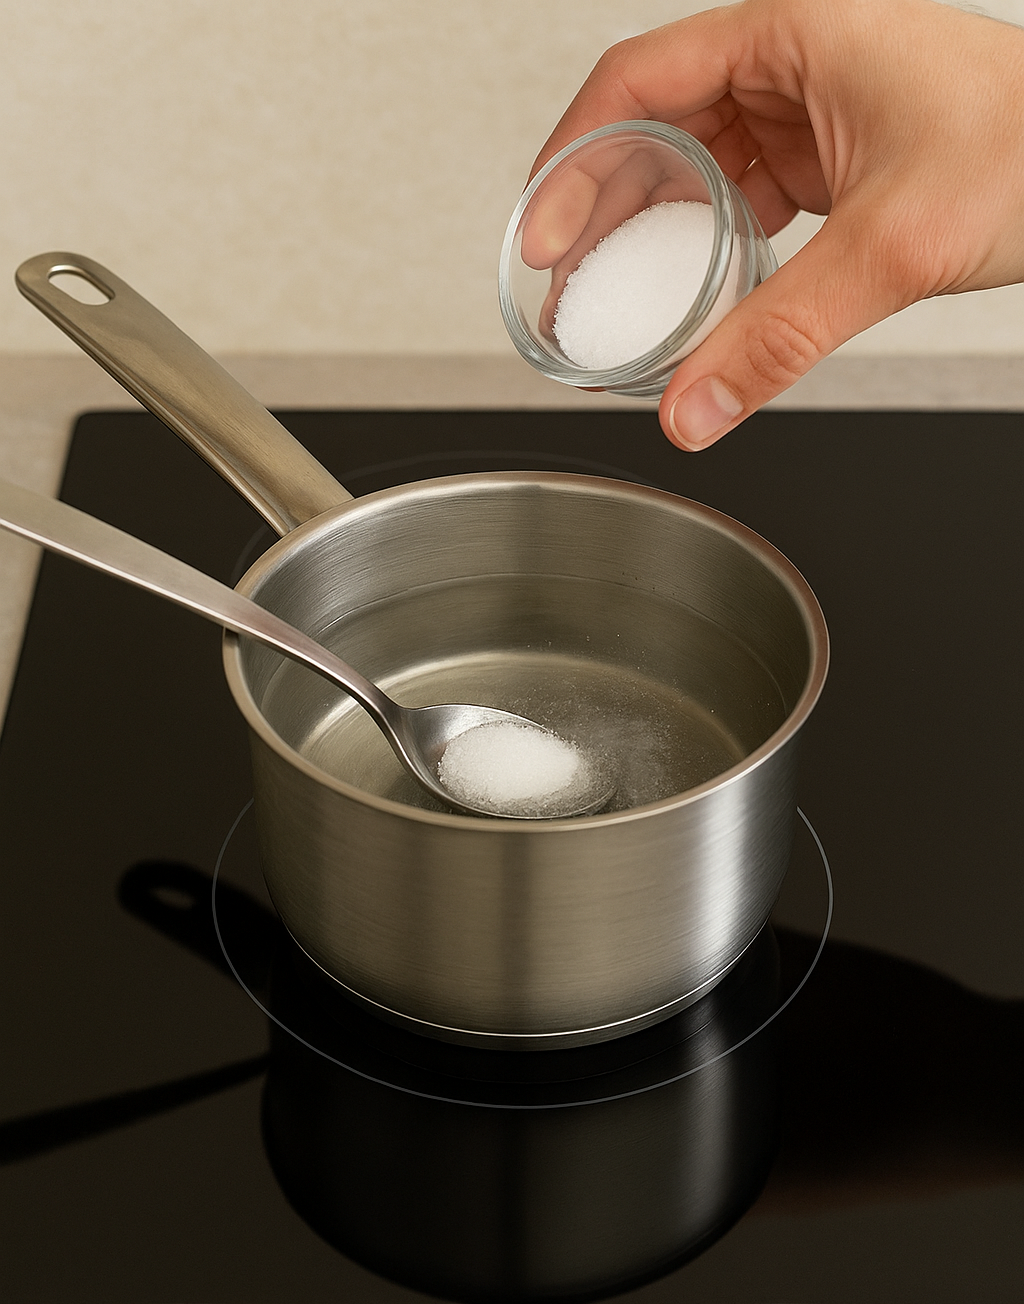 2. Slowly add salt, stirring constantly. Keep adding until no more salt dissolves: now you have a saturated solution.
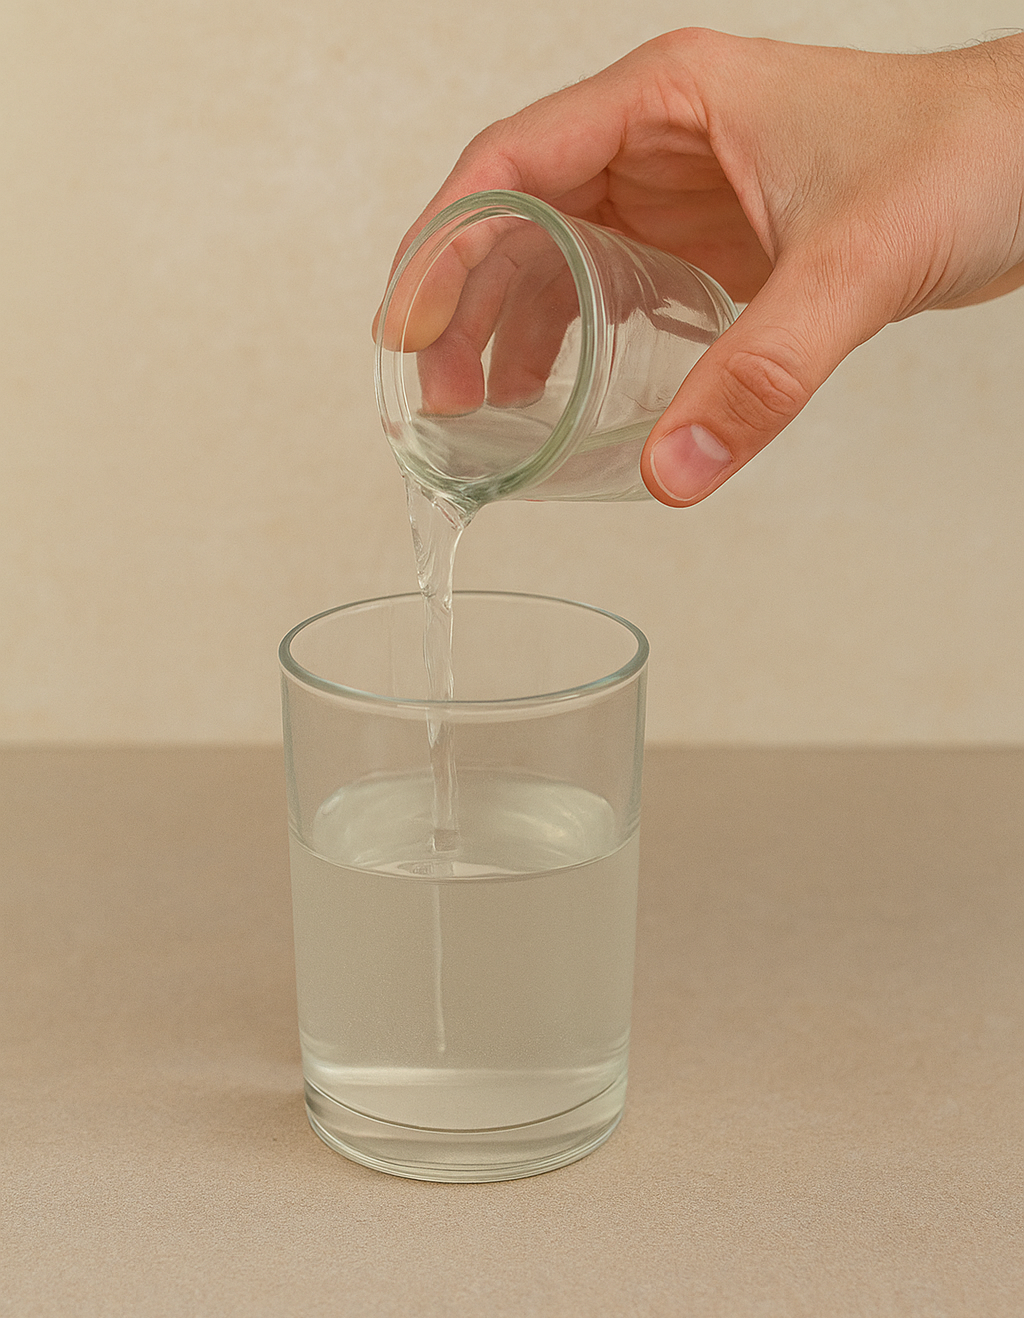 3. Carefully pour the solution into a clean glass.
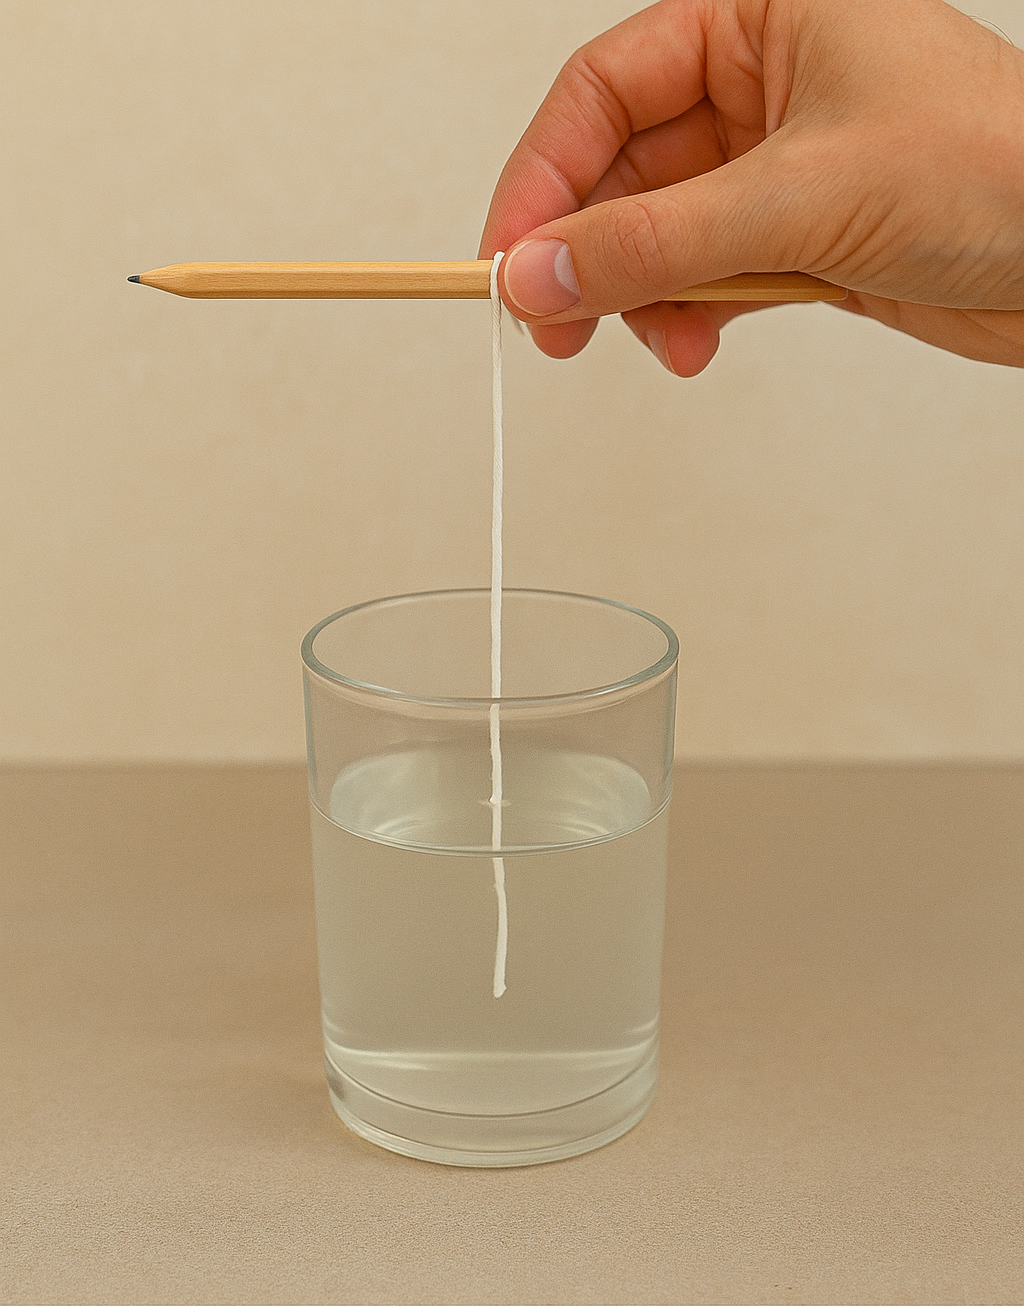 4. Tie the string to the pencil and place it across the top of the glass so the string hangs down without touching the sides or bottom.
 5. Cover the glass with a cloth or kitchen paper to protect it from dust.
 6. Leave the glass in a quiet, dry place for a few days… and watch the magic happen!
What’s Happening?
As the water evaporates, the excess salt begins to crystallize along the string, forming shiny, structured clusters. This is a real-life example of crystallization: a chemical process where molecules arrange themselves into an orderly and repeating pattern.
Extra Tips
- Add a drop of food coloring for colorful crystals.
- Use transparent containers to observe the process better.
- More patience = bigger and better crystals!
Science Fun Fact
Table salt naturally forms cubic crystals. If you look closely (or with a magnifying glass), you’ll notice tiny, perfect cubes. This experiment is a great way to introduce kids (and adults!) to concepts of chemistry, physics, and crystal geometry.
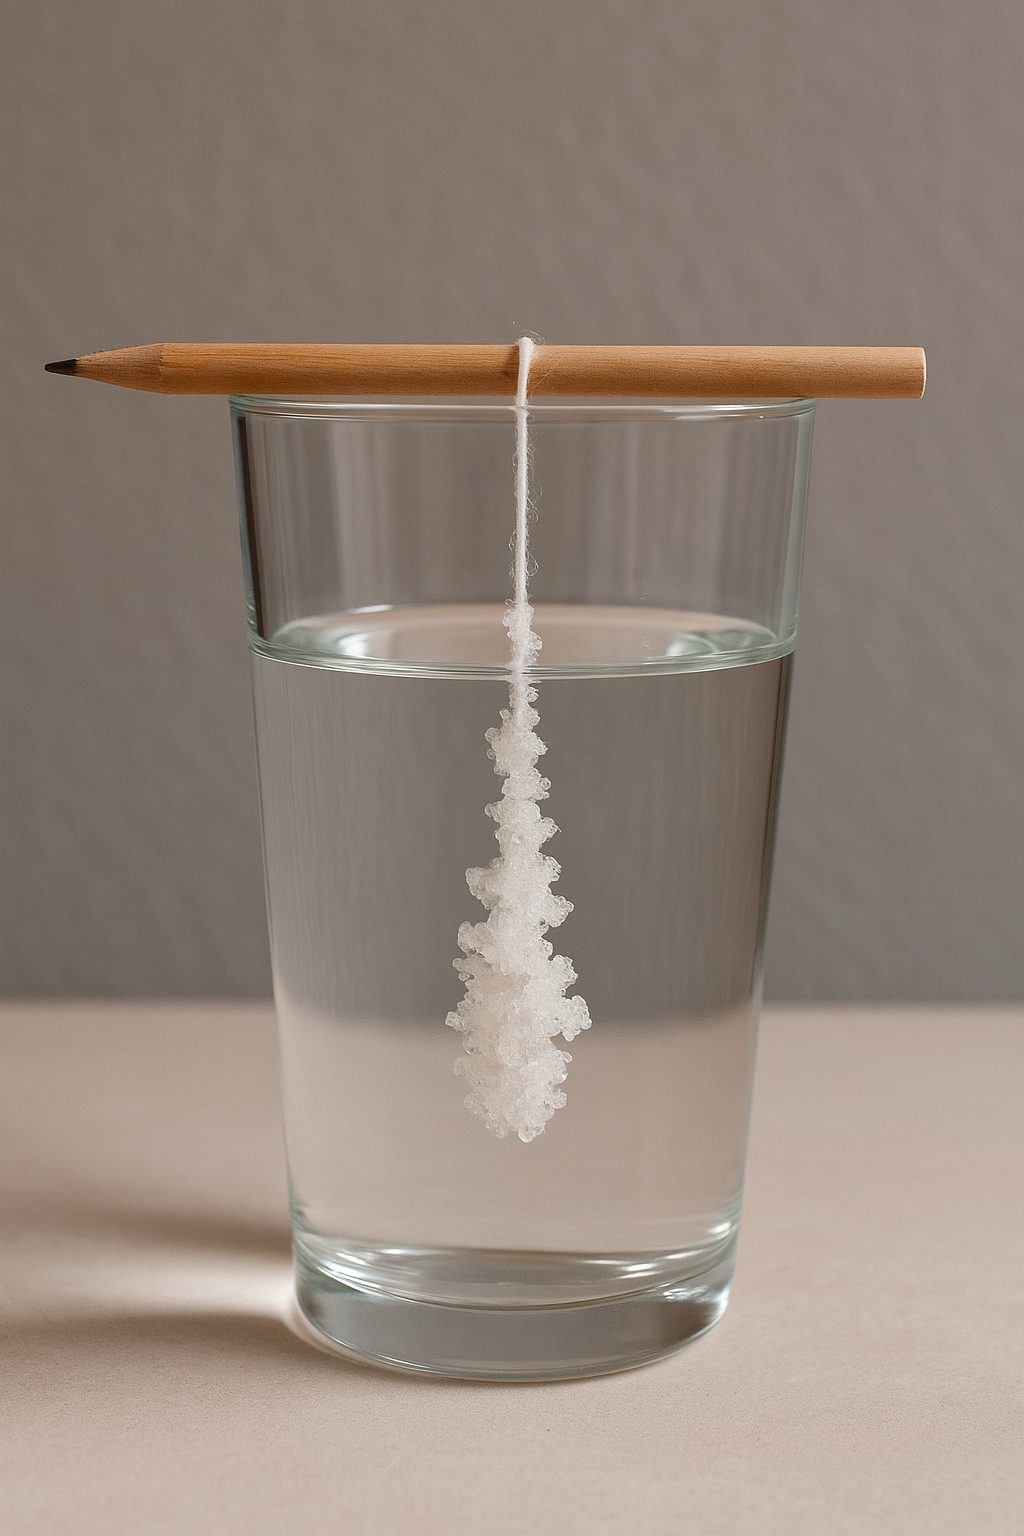
The Final Result
Here’s what your crystal might look like after patiently waiting:


Leave a Comment